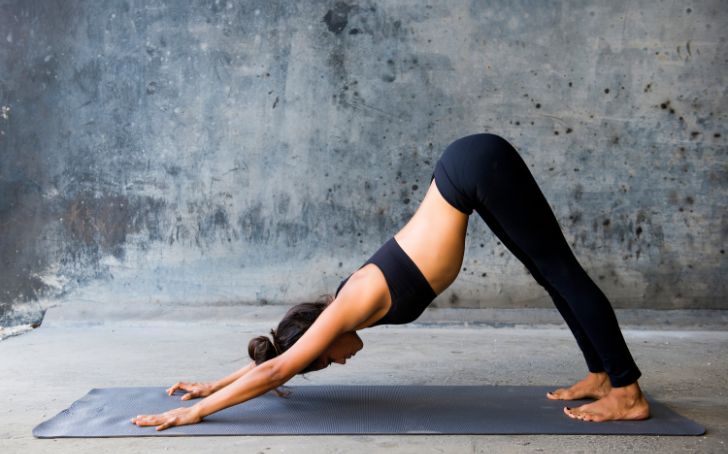
Benefits of The Downward-Facing Dog Pose
- Stretches and Strengthens: It stretches the entire back of the body, including the spine, hamstrings, and calves, while strengthening the shoulders, arms, and wrists.
- Energizing and Calming: The pose rejuvenates and energizes the body while providing a sense of calm and focus.
- Improves Circulation: Inverted positions like Downward Dog can enhance blood circulation throughout the body.
Beginner Tips:
- Modify the Distance: If you feel tight, you can walk your hands slightly forward, bringing them in front of your shoulders.
- Bend Your Knees: If your hamstrings are tight, keep a slight bend in your knees to protect your lower back.
- Use Props: Place a block under your hands to ease wrist discomfort or under your heels if they don’t reach the floor.
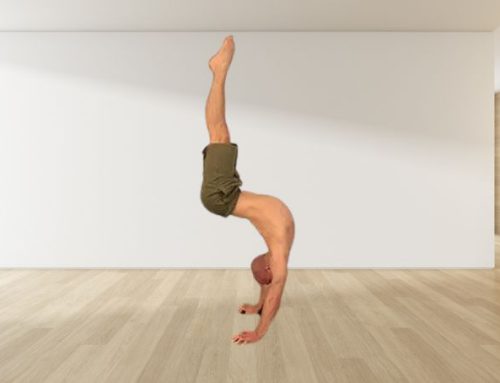
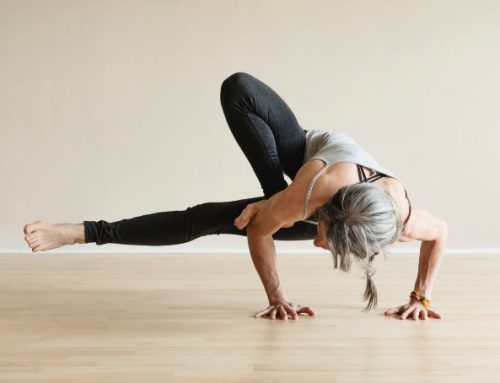
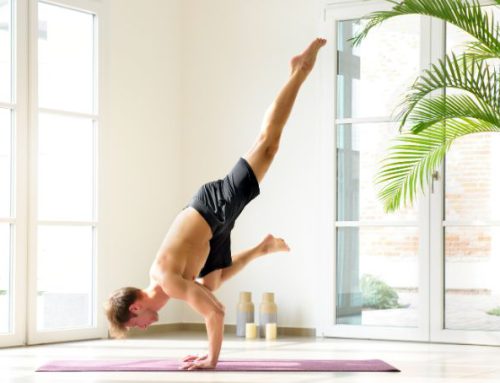
- If you have wrist issues, try variations such as Dolphin Pose or use props to alleviate pressure.
- Modify the pose based on your comfort level, and avoid forcing yourself into the full expression.

Leave A Comment